RV Internet - Get The Fastest Internet On The Road
Our Mobile Internet Write-up *Updated NOV 2019*
The goal of our internet setup was to create a stable, mobile internet system. After struggling with many MIFI units, I finally found a 4g modem that is rock solid.
UPDATE - YES! It's still working GREAT!
It's been a year and a half since I created this video, and I wanted to update this post as this is one of our most watched videos. Finding great internet on the road can be tough if you're stuck using what the 'big box retailers' give you.
The MOFI has been a wonderful addition to our traveling arsenal. I still 100% recommend this to anyone on the road.
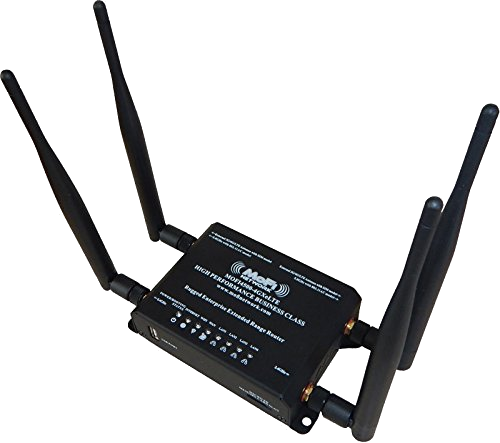
The Mofi 4g Cellular Modem
This is the backbone of the system. Think of this as more of a business, or enterprise MIFI device. The systems inside provide much more processing power, allowing you to surf faster and handle more devices than standard MIFI units.
It also provides direct wire abilities so you can direct wire your computer into the unit for the fastest speeds available.
The only downside is that this unit does not have a battery, so it needs direct 12v power at all times.
I noticed a speed increase just from this unit alone.
In order to use my mobile internet system in remote areas, I added the external antennas below.
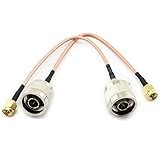
The connectors and wire.
These are what you need if you want to have external Antennas like I have in the video. The external antennas allow you to pull in signal from farther cell towers, and direct the signal for fastest possible speeds.
NOTE* - the wire is hard to work with, BUT I found that it's crucial. Do a search for line loss on 4g signals and you'll see that signal loss from the wire that most people use is not acceptable.
DZS Elec 2pcs RG316 Wire Jumper 15cm SMA Male to N Male with Connecting Line RF Coaxial Coax Cable Antenna Extender Cable Adapter Jumper
N-Male to N-Male 10 Foot LMR-400 Cable | Times Microwave Ultra Low Loss LMR400 Coax Made in USA by MPD Digital (TM)
The Antennas
I chose these antennas because they fit the 4G spectrum well. Verizon uses 700, and 2100 mhz frequencies, and these antennas can do those frequencies well. Other US cell companies uses similar frequencies, so these antennas should work well for any US provider.
Also, these antennas are 50 OHM, not 75 like most antennas listed on Amazon. The wiring that we put in is 50OHM, so it's important to keep the same impedance when wiring your antennas.
The Antenna Bracket
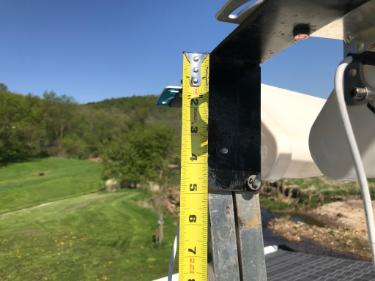
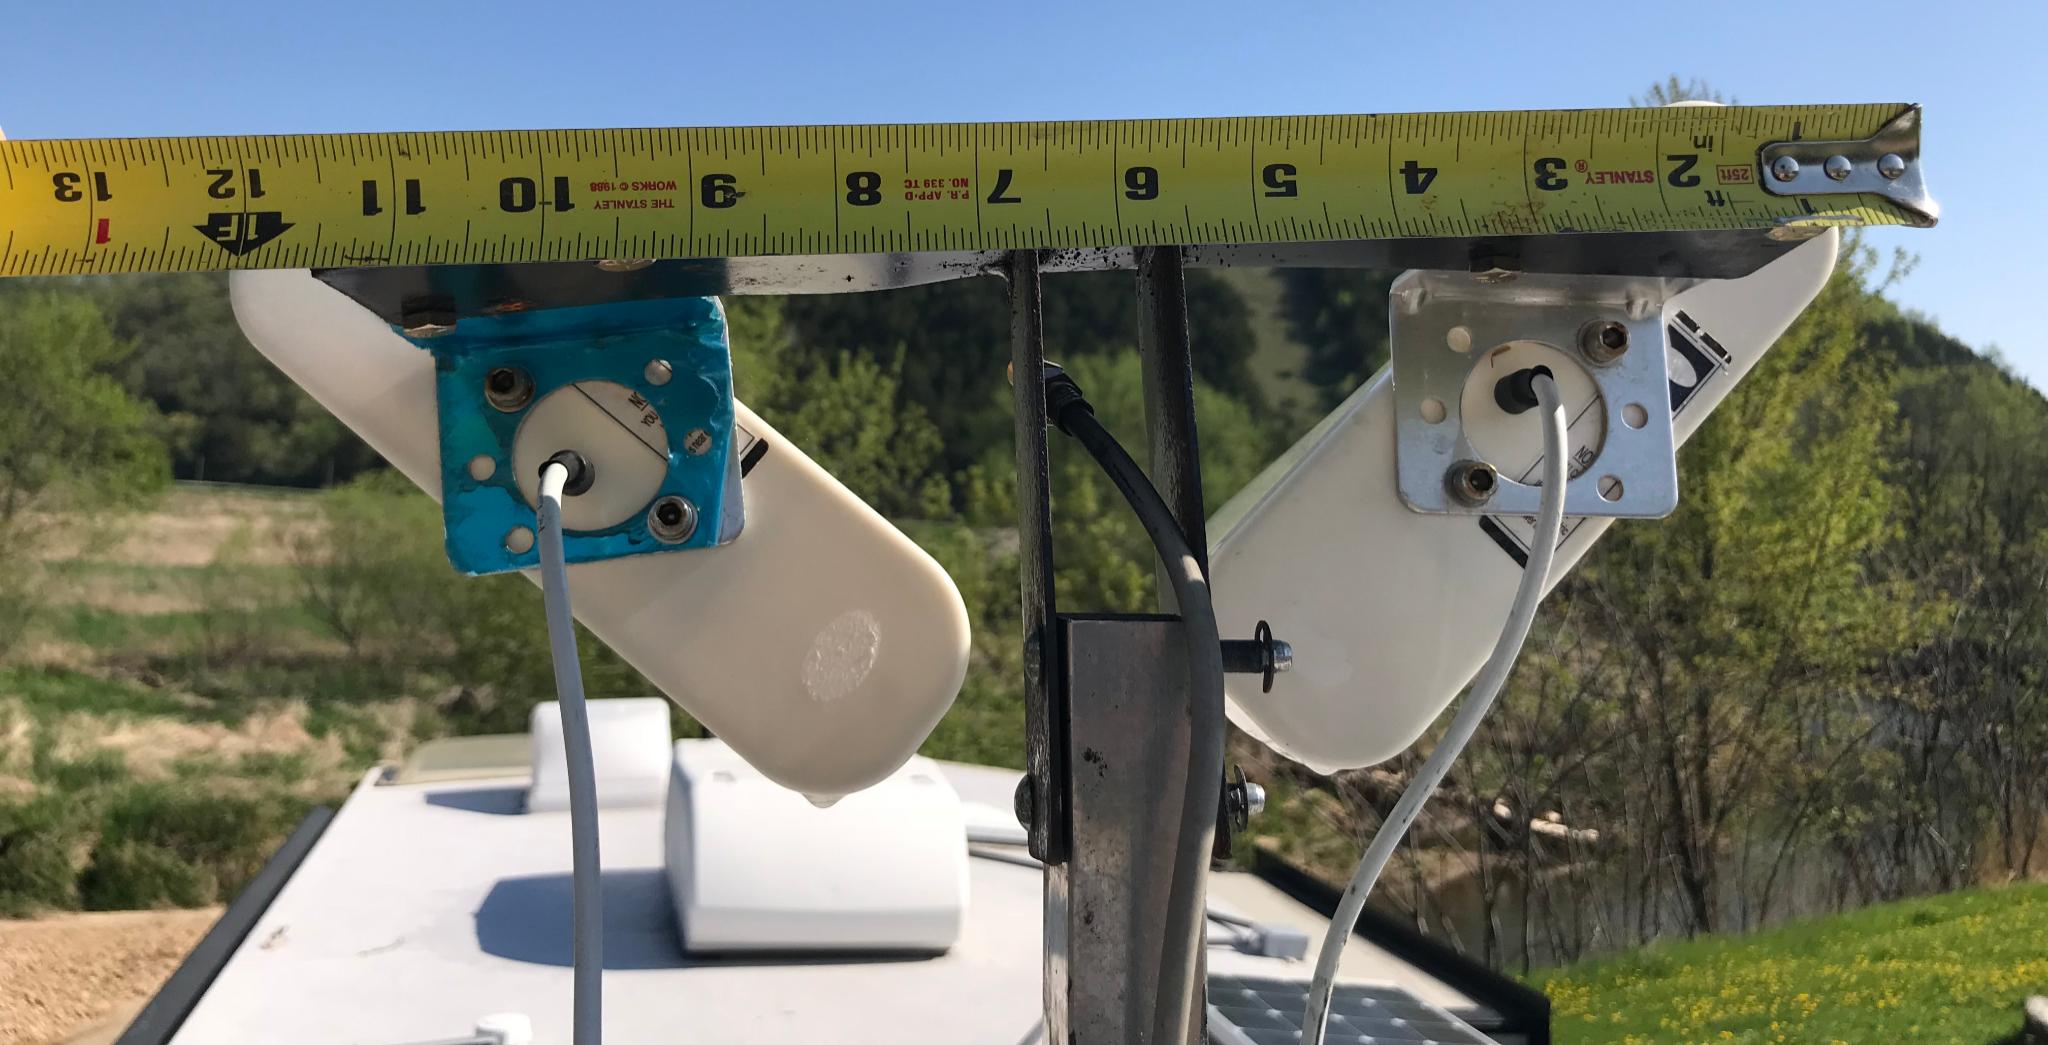
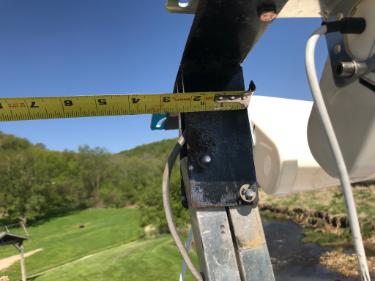
I made the bracket with 2" light steel that I welded together with my wire feed welder. Here are some pics with some measurements:
The braket is a T shape, with an extra bar in the middle so it can straddle the standard crank up antenna that is found on most RV's. The space between the bars is 1". The overall width of the bracket is about 11.5 inches.

When wiring your antennas, it's important that you don't kink the wire or put a sharp bend in the wire. If you do this, you can get signal loss in the cable. I won't go into all the details of antenna wiring, but it's much more of a science than most installers realize.
The rule of thumb is that you keep any bend to a 1' diameter loop at a minimum. I had to put a 1" hole into the RV roof in order to do this, and essentially carve out part of the insulation in the ceiling to accomodate the bend. You'll notice that the wire does not sit hard on the roof, it bows up a bit before I pin it down to the rooftop.
Since the wire is so large, I only pin it down in one location and allow it to go direct to the antennas without being tied down to any other part of the antenna or roof. This ensures that I don't get a bend or kink in the wire as well.
If you have any questions on this, feel free to leave a comment below and I'll do my best to help.
Thanks!
WELCOME
Glad to have you with us!
FOLLOW US
Wecanexploreit is a participant in the Amazon Services LLC Associates Program, an affiliate advertising program designed to provide a means for sites to earn advertising fees by advertising and linking to amazon.com
Disclosure: Some of the links in our website are affiliate links, meaning, at no additional cost to you, we may earn a commission if you click through and make a purchase.

